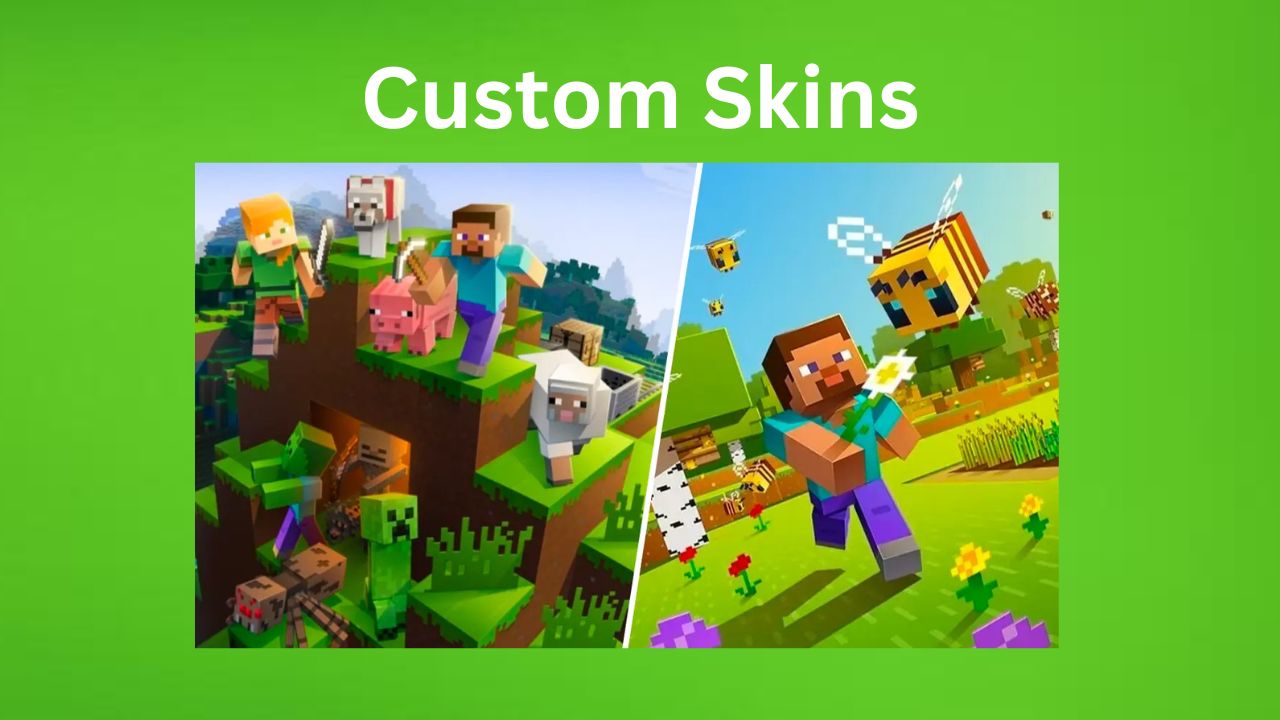
How to Create Custom Skins in Minecraft
Introduction
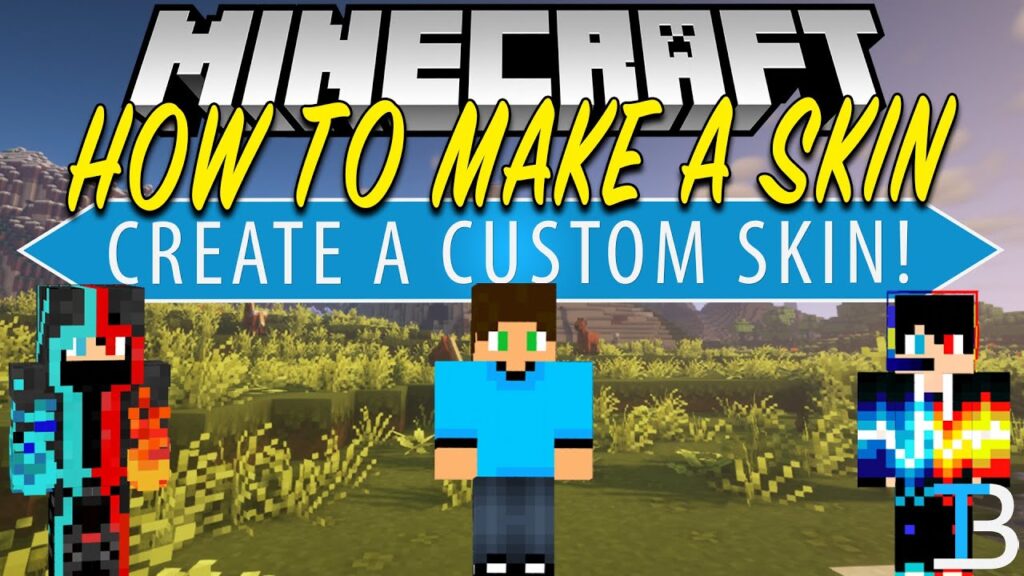
Custom skins let you change how your character looks in Minecraft. Instead of using default characters, you can design your own unique style, from superheroes to survival-themed outfits. In 2026, making custom skins is very easy and can be done using free tools and simple editing steps. This guide explains how to create and apply your own Minecraft skin step by step, How to Create Custom Skins.
What is a Minecraft Skin?
A Minecraft skin is the texture that covers your player model. It controls how your character appears in-game, including clothes, face, and style.
You can use skins for:
- Personal identity in multiplayer
- Roleplay servers
- Creative expression
- YouTube or streaming content
Method 1: Using Online Skin Editors (Easiest Way)
This is the most beginner-friendly method.
Steps:
- Open a Minecraft skin editor website
- Select a base model (Steve or Alex)
- Use tools to paint your skin
- Add colors, designs, and details
- Save the final skin file
👉 You can design everything directly in your browser.
Method 2: Editing Skin with Image Software
For more control, you can use editing tools like Paint or Photoshop.
Steps:
- Download a blank Minecraft skin template
- Open it in an image editor
- Draw your custom design carefully
- Save file as PNG format
- Upload it to Minecraft
👉 This method is more advanced but gives full customization.
Method 3: Downloading and Editing Existing Skins
You can also start from ready-made skins.
Steps:
- Download a skin you like
- Open it in a skin editor
- Modify colors or design
- Save as your own version
👉 This is useful for beginners who want quick results.
How to Apply Custom Skin in Minecraft
After creating your skin, you need to upload it.
Steps:
- Open Minecraft launcher or profile page
- Go to “Skins” section
- Click “New Skin” or “Upload Skin”
- Select your PNG file
- Apply and save
Your character will now use the new design.
Best Ideas for Custom Skins
If you are confused, try these ideas:
- Survival explorer outfit
- Knight or warrior armor
- Ninja or assassin style
- Cartoon or anime character
- YouTuber-themed skin
Tips for Making Better Skins
- Use simple colors for clean design
- Avoid overcrowding details
- Keep both sides symmetrical
- Test skin in-game before final use
- Save backup versions
Common Mistakes
- Wrong file format (not PNG)
- Overcomplicated designs
- Not checking in-game appearance
- Uploading incorrect skin model (Steve/Alex mismatch)
Conclusion of How to Create Custom Skins
Creating custom skins in Minecraft is a fun and creative process that lets you express your personality in the game. Whether you use online editors or manual design tools, making your own skin is simple and enjoyable.
With a little creativity, you can design a unique character that stands out in every Minecraft world, How to Create Custom Skins.